• Skip to primary navigation
  • Skip to main content

GatoZen

Scale Modeling, Diorama and Illustration Process Tutorials and Journey.

  • About
  • Who´s behind GatoZen?
  • Blog
  • Social Profiles
  • Contact Us
  • Show Search
Hide Search

diorama

Miniature Dungeon Cell Door and Windows – Dark Souls Dungeon Part 5

gatozenadmin · June 23, 2024 · Leave a Comment

Welcome to the fifth part of the Dark Souls Dungeon project tutorials. Today I will tell you about my experience in building the door and windows part of this diorama.

Dungeon Cell Door and Windows Video Tutorial

The Idea

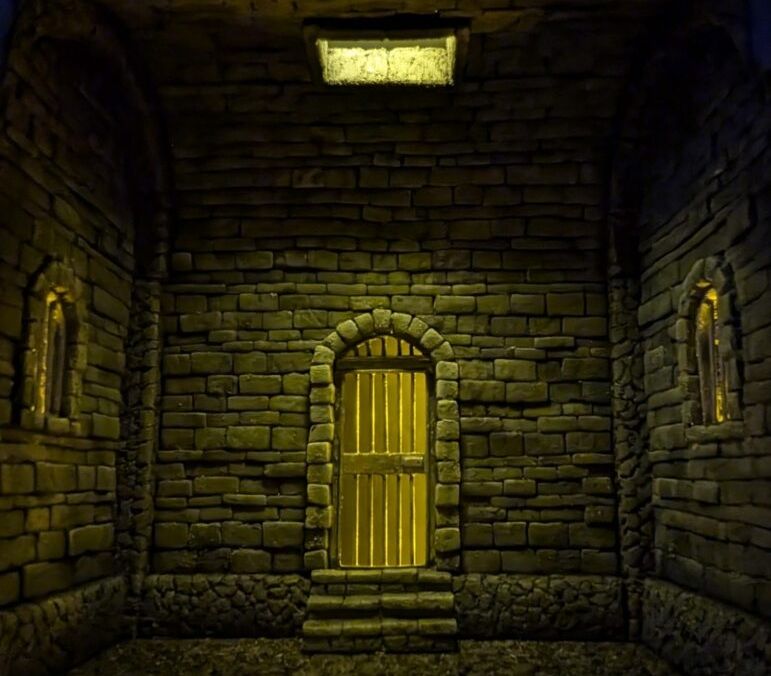
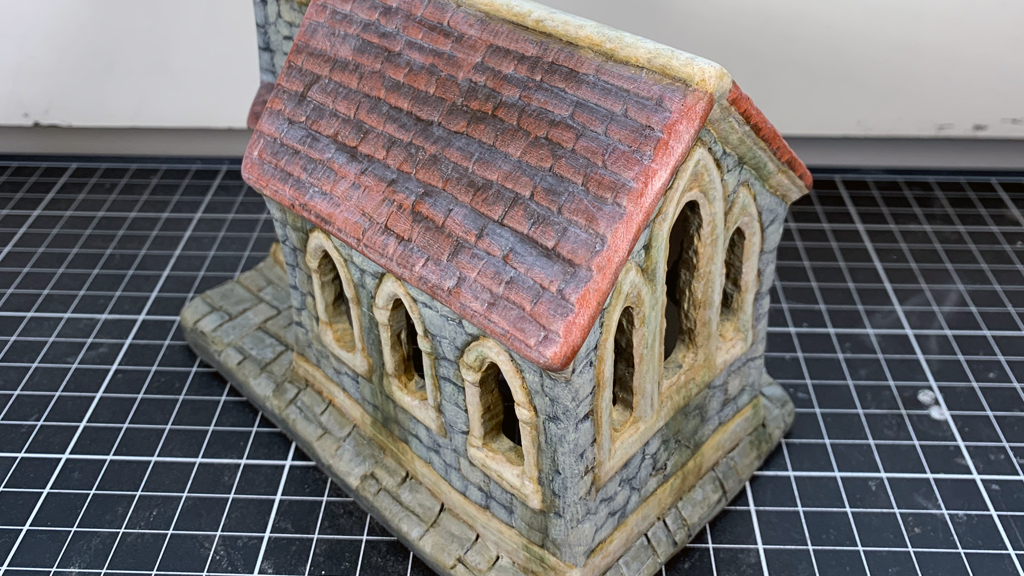
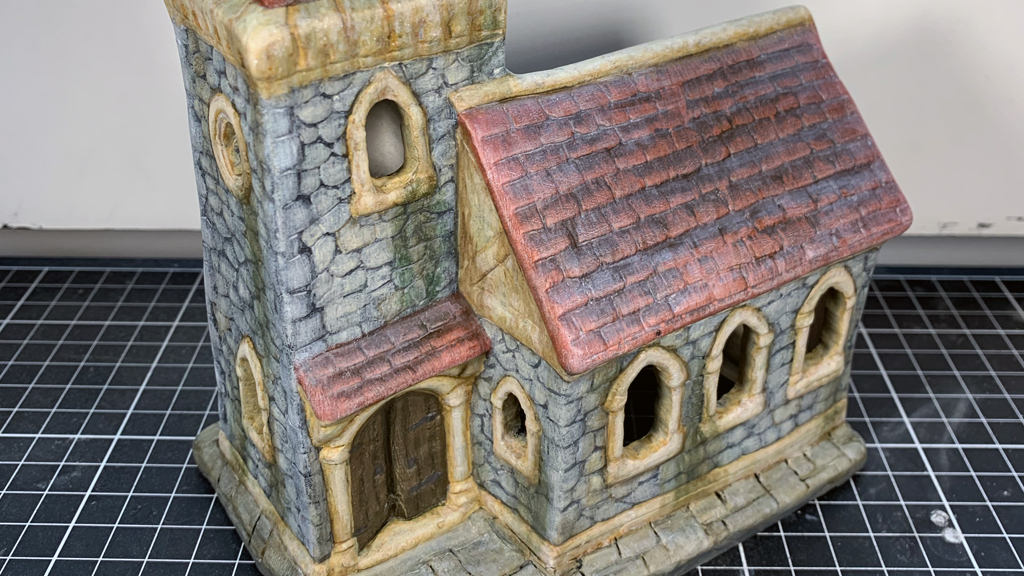
As you know I took the project of representing the initial point in the game Dark Souls, which is a dungeon cell where the player begins the adventure. This time was the turn of building the door and windows of this cell.

The first thing that came to my mind was the type of materials I would use for this build, according to the scale I’m working they had to be something easy to work with but also adecuate for the final result.

Dark Souls Dungeon Cell Door and Windows

The Build

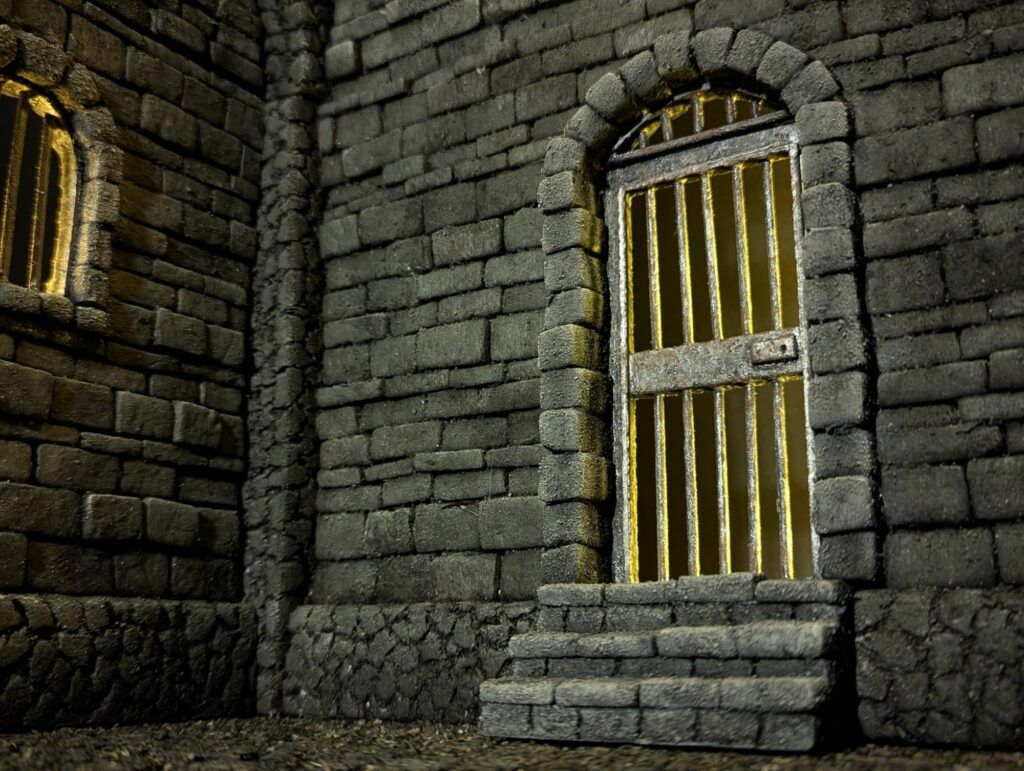
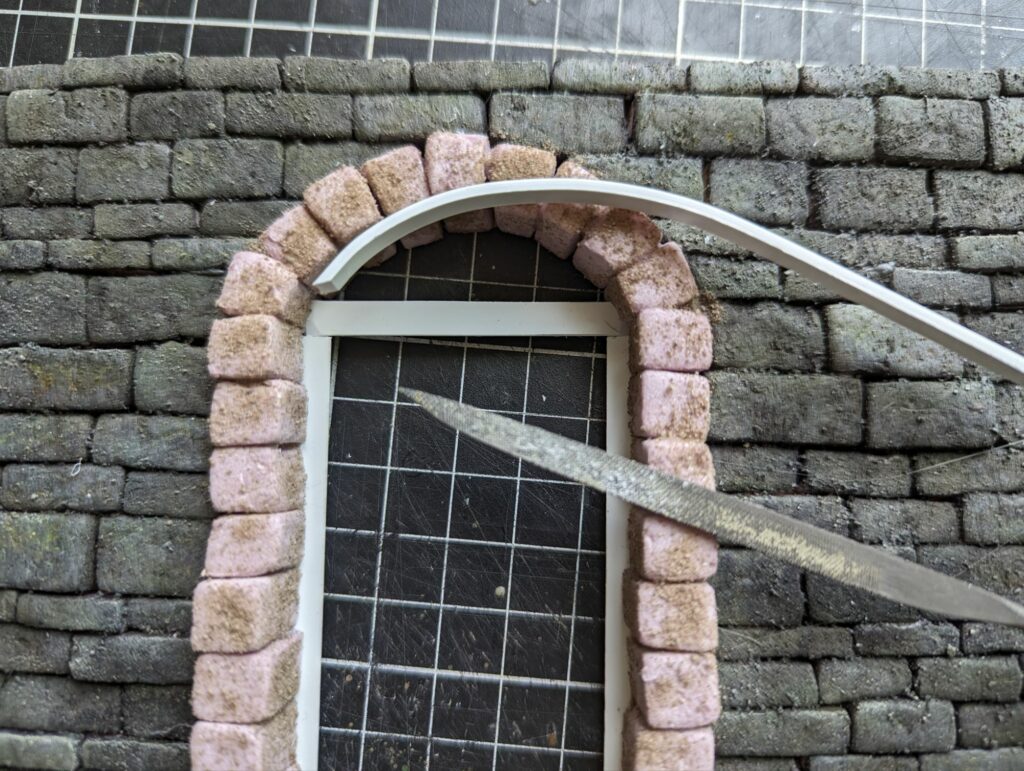
My materials of choice were mainly two: styrene plastic of 2 mm width and wooden toothpicks.

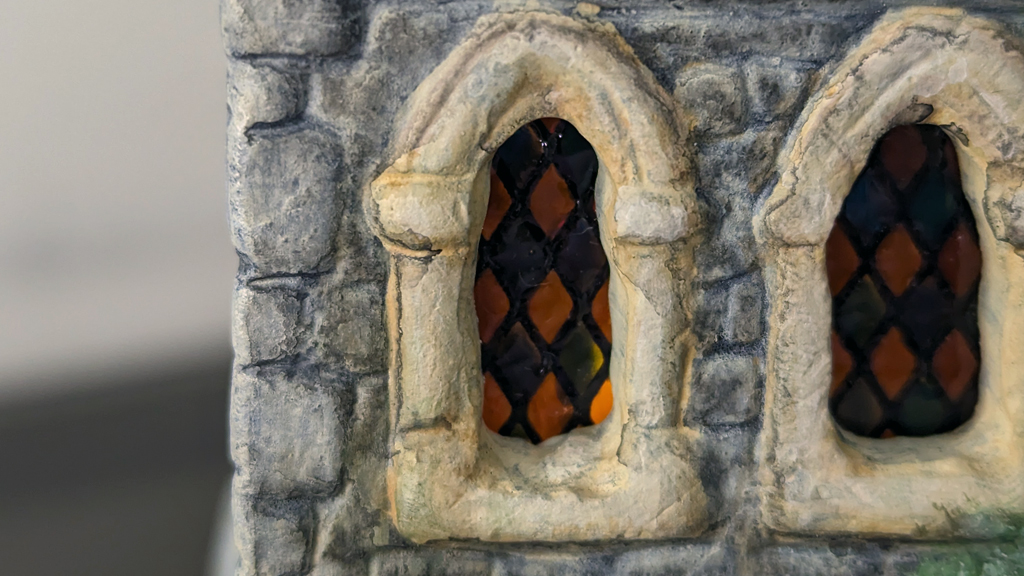
The styrene was used mainly for the structure of the door and windows frames. Since the 2 mm width seem adecuate for the scale I’m working the diorama (1:20) It gives the built of the door and windows the necessary thickness as a metal frame would have for real. The bars were done with wooden toothpicks (but now that I think about it, plastic toothpicks would have done a better job). All these elements were glued with super glue, so the assembly was quite fast, once all the pieces were correctly cut and created.

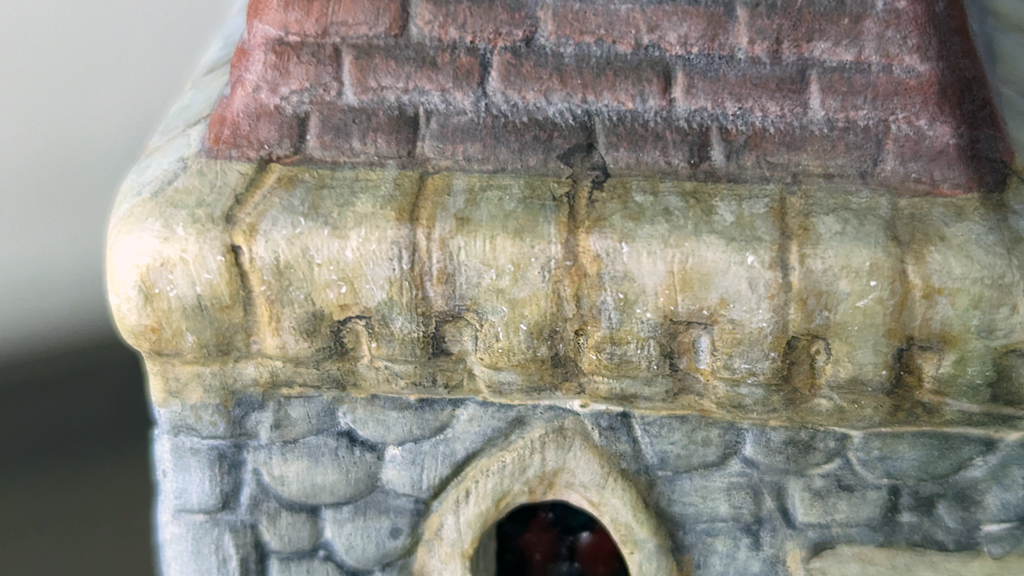
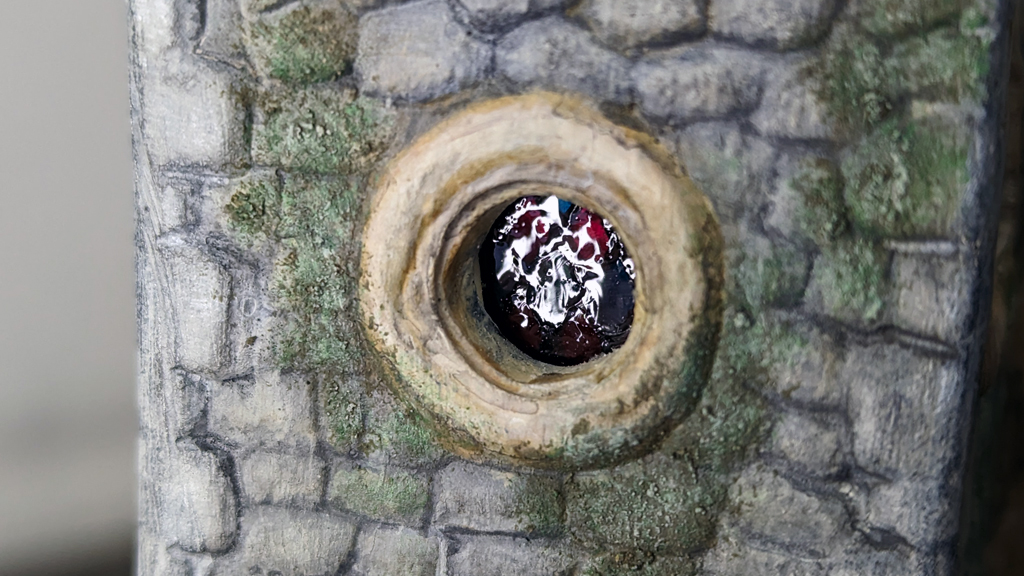
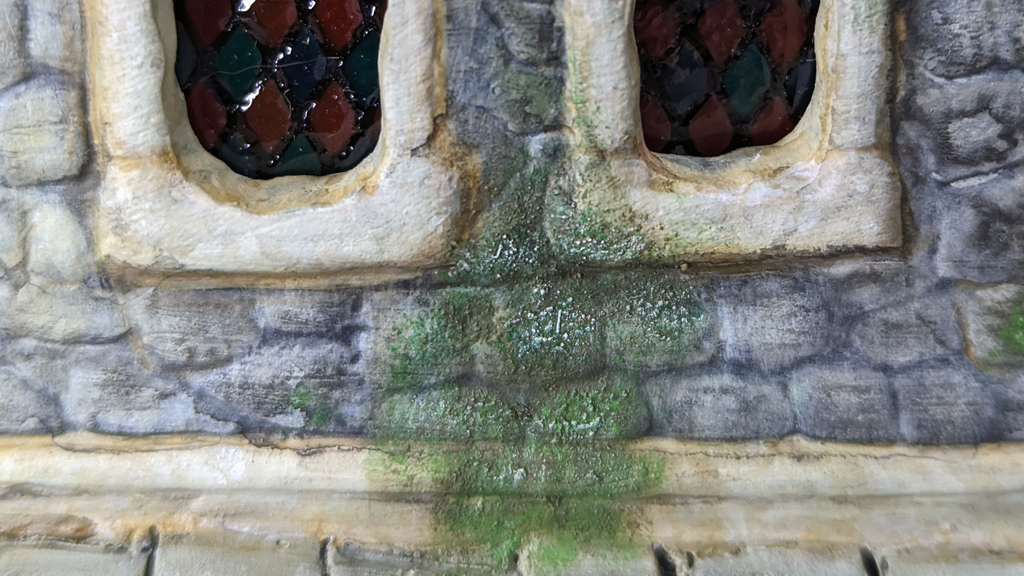
Once the principal objects were assembled I started with some weathering and scratching of them (this was a pretty much fun part!). For this I used a thin steel file with a pointy edge. The thing here is that it is very easy to overuse this resource and end up messing up the piece, so I had to go careful with this step.

Steel file to make some scratches and drilling

As for the painting I primer with black acrylic and applied gray and white highlights to create a gradient-like coloring before getting to the actual base color.

So when the base color was applied (gunmetal acrylic) thinned down with water, the actual grayscale gradient was still visible but with the metallic color over it.

Black primer with grayscale tonalities over it

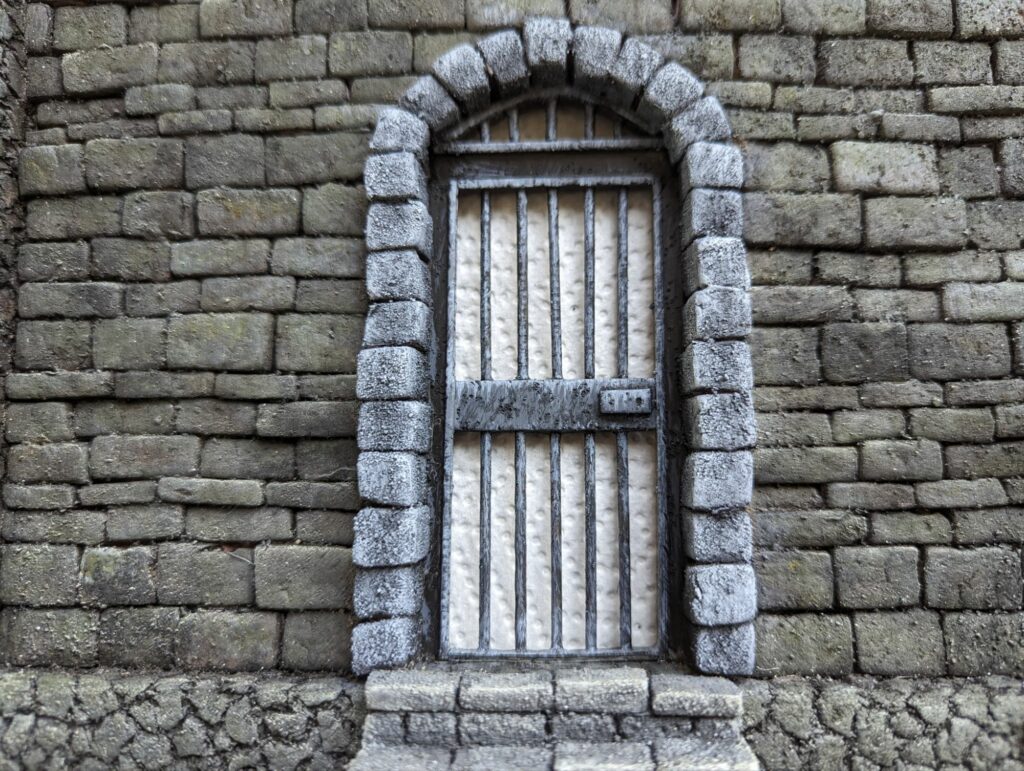
Tha rust was a crucial part to add realism to this pieces. In this build I learned a new technique with 2 combinations of two colors. The first creating a brown-redish tone applied with a selfmade sponge and the second tone a orange-yellowish color applied with a brush with hard bristles. This combination (also done in selective places) worked very well with the metallic base tone, giving a nice realistic look to the door and windows.

Rust effects

Finally, and to enhance the scratches and holes drilled with the steel file, I drybrushed with silver acrylic, giving some shiny finish to some details.

Conclusion

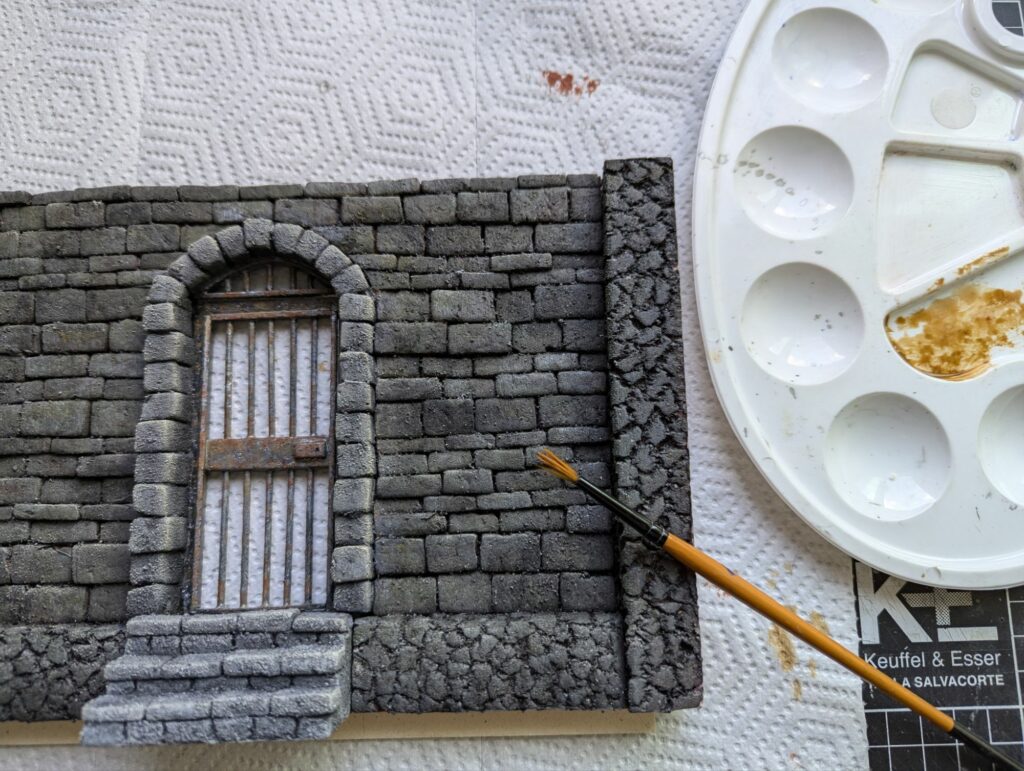
I had a lot of fun with this build and learned a new technique to represent rusted metal (before I had posted a tutorial about an iron gate, which involved some rusting effects also). The most difficult part for me was the styrene bending with hot air of a hair dryer, that I broke some pieces before I got the hang of it and did it right.

Overall, I was very satisfied with the final result and eager to start taking some shoots and video to the whole build.

One of the final shoots of the cell door and windows

Limestone Effect for Dioramas and Miniatures

gatozenadmin · October 30, 2023 · Leave a Comment

If you are looking how to give a limestone effect for your diorama of miniatures, this is the place to be. Watch a step by step video tutorial and post with my apreciation and experience doing it.

Step by step video

The idea

The idea of representing in a realistic way limestone comes from searching a combination of two types of stone that gives the idea of an old castle. The selected colors were the standard grey of common stone and the yellowish tone of limestone. For this project the dominant color was grey for its walls, and the complementary was the limestone for the cornices and window frames.

The limestone makes an interesting color for this old castle project because of the wide variety of tones that can be applyed to that material depending on the type of surface: from a clean and new surface with its characteristic yellow-brown tone, to a more dirty and old look with a reddish-brown streaks, and also some greenish tone representing a moss covered limestone.

Clean limestone
Redish / dirty looking limestone
Limestone covered with moss texture

The paint

To paint this miniature castle and give the non-uniform tonalities of stone over its walls, I applyed a black primer, then grey layer and finally white highlights as base coloring, giving a light to dark tonality for the miniature according to where light would be casted more intensely on its surfaces.

Once the priming tonalities of black-grey-white are dryed, I procceded to paint the characteristic yellowish tone of limestone, giving the result of a multitoned yellow-brown color over the primed surfaced.

After the base color was applyed, I added 4 layers of a mix of the base color, with a lighter color on each layer, going from the “darkest” tone to the lightest (which would be a Bonewhite Vallejo Game Color acrylic), this, for giving a more volumetric sense to the elements representing the limestone.

Finally, some weathering was applyed to the piece, some dust and moss was represented by drybrushing brown and dark green, respectively, in a vertical manner in some very select areas.

Dirt and moss over surface

I was satisfied with the over all final result. I think the convination of grey stone in the walls and yellowish brown of the details in the cornices and windows made a good combination, however maybe I would have changed the redish ceiling to another tone other than that, because this color kinda competes with the grey/yellow of the walls, more than it complements them.

What do you think?.. Let me know in the comments section.

Recently Published

  • Miniature Dungeon Cell Door and Windows – Dark Souls Dungeon Part 5
  • Miniature Dungeon Ceiling Build – DarkSouls Dungeon Part 3
  • Realistic Wooden Shingles for Dollhouse or Scale Models
  • Limestone Effect for Dioramas and Miniatures
  • Easy Layering in Watercolor
  • Instagram
  • TikTok
  • YouTube

Copyright © 2025 · Monochrome Pro on Genesis Framework · WordPress · Log in