• Skip to primary navigation
  • Skip to main content

GatoZen

Scale Modeling, Diorama and Illustration Process Tutorials and Journey.

  • About
  • Who´s behind GatoZen?
  • Blog
  • Social Profiles
  • Contact Us
  • Show Search
Hide Search

scale models

Miniature Dungeon Ceiling Build – DarkSouls Dungeon Part 3

gatozenadmin · May 22, 2024 · Leave a Comment

This is the third part of a series of tutorials -the first was about walls, and second about floor-. This particular build represented a very peculiar challenge since I didn´t know how to represent a vaulted ceiling built by stone bricks. And also that look seamless and integrated with the prior build of the brick walls, using the same kind of bricks.

The Idea

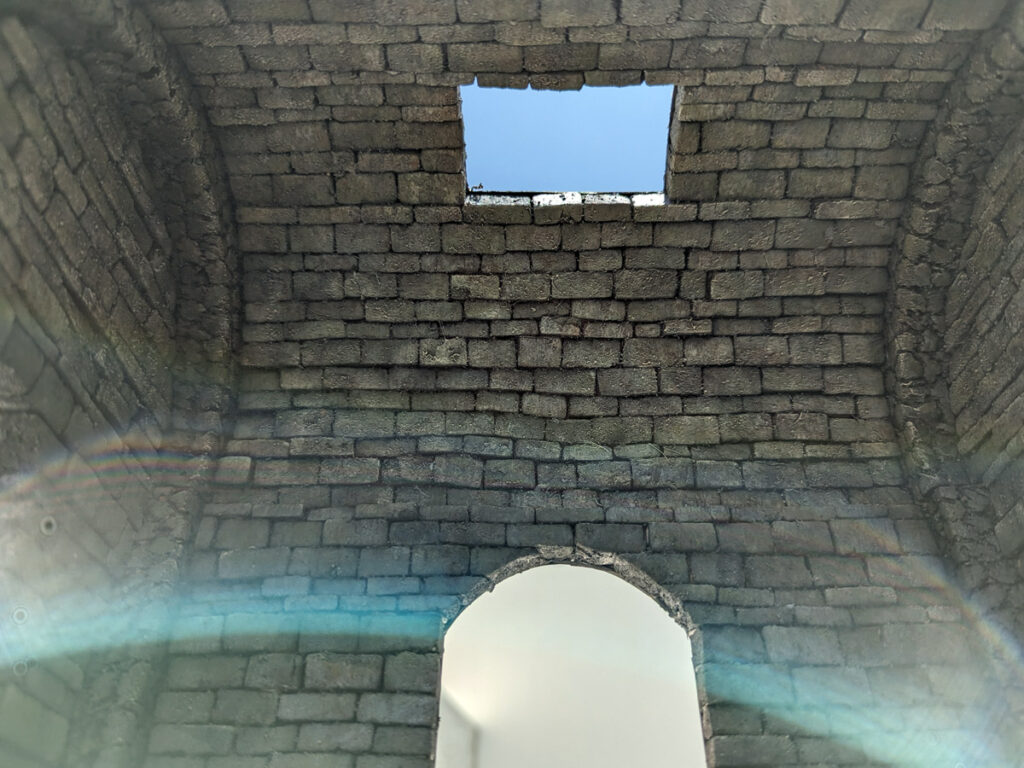
As you know I´m looking forward to represent as identical as I can the starting point of the DarkSouls game, it is a dungeon with a vaulted celing made from stone bricks, so, I decided to use a technique of brick by brick construction of wall and ceiling to make it more realistic. So I had to use the same kind of bricks and layout used in the wall build, so the wall and ceiling would look as one – just like in the game-.

The Build

The first problem I encountered with this build was to calculate the circular shape of the celiing. As I see in the game it looked like a half-circle structure, so I decided to give it a go in this shape, even though a strict vaulted ceiling might not necesarily have this specific shape, -just a semicircular or arc shape-

Another problem I had, was to decide what kind of material I could use, so it could be bend into this circular shape. I used a 2mm width cardboard very common in study architectural models and made the circular shape scribing straight lines with an x-acto cutter with equal distances from each line.

Scribing ceiling plate to bend it

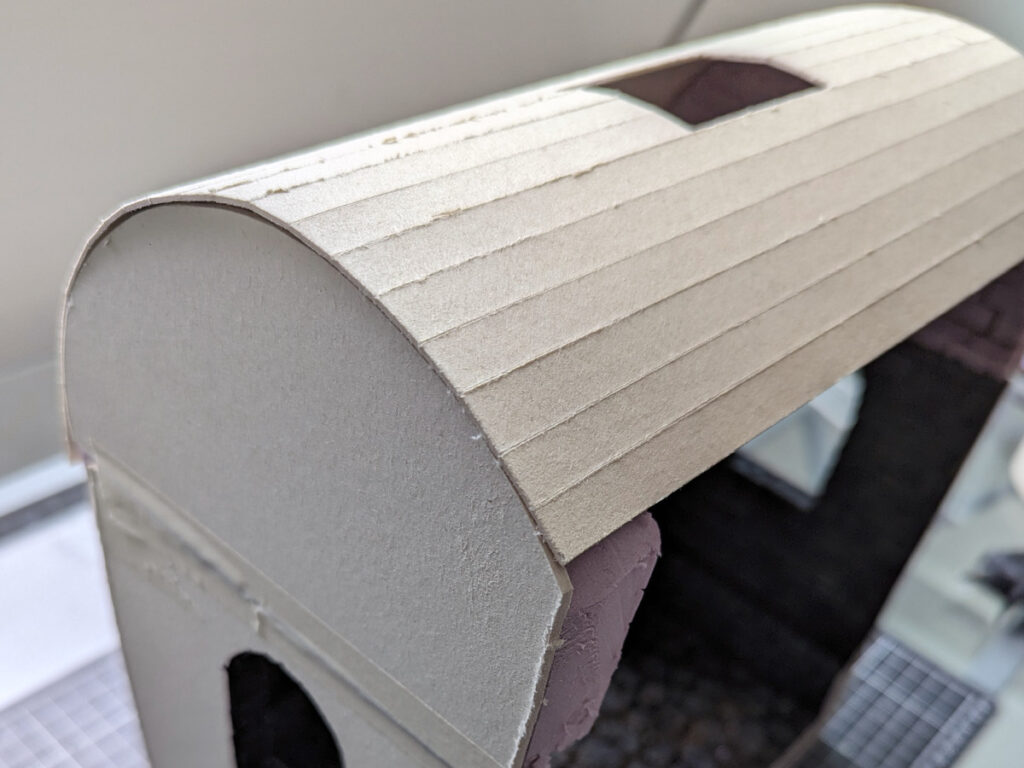
Once the bending and glueing of the base structure was done I proceeded to start covering the interior face with xps foam bricks (previously made – I have a tutorial here, to create this kind of brick easily with great result).

Planning each lane is recommended

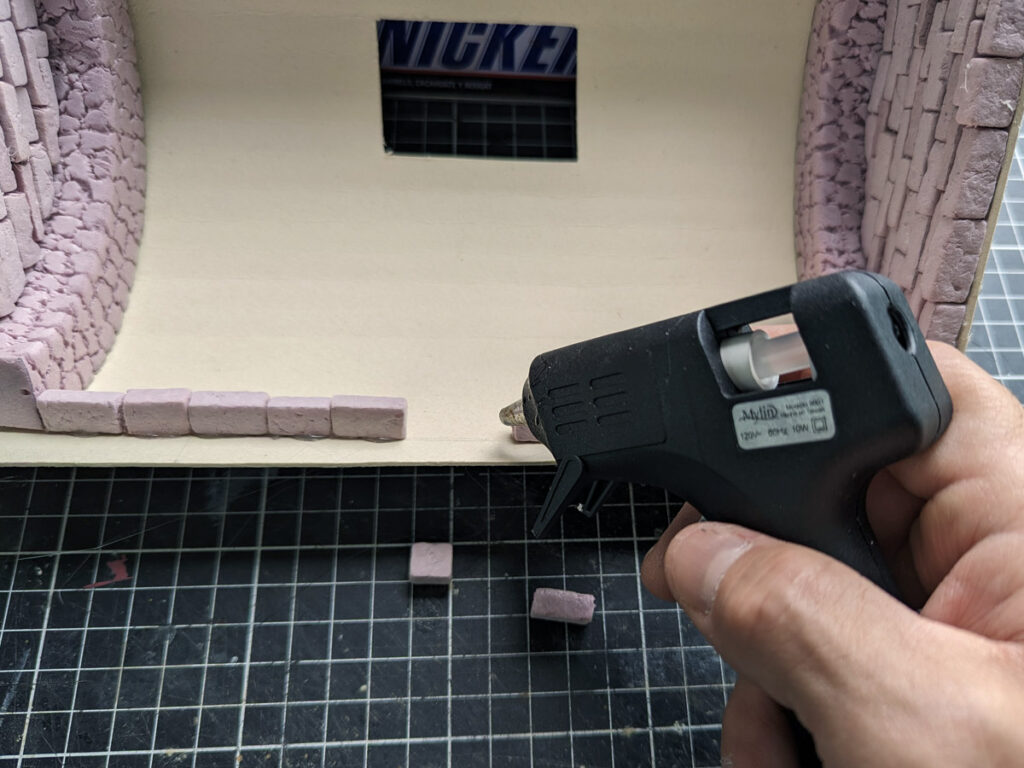
Patience, patience… this part was by far the most time consuming, since I had to plan each lane of bricks so they could be layout in a realistic fashion, and also alternate using thin, médium and thick bricks per lane, combining them, the way in the videogame was represented. I recommend using hot glue to adhere each brick, since it adheres instantaneously cutting drying times. But the downside of this, is that I had to had each lane of bricks previously separated and layed out, so they would fit and look nice once glued.

Patience… patience

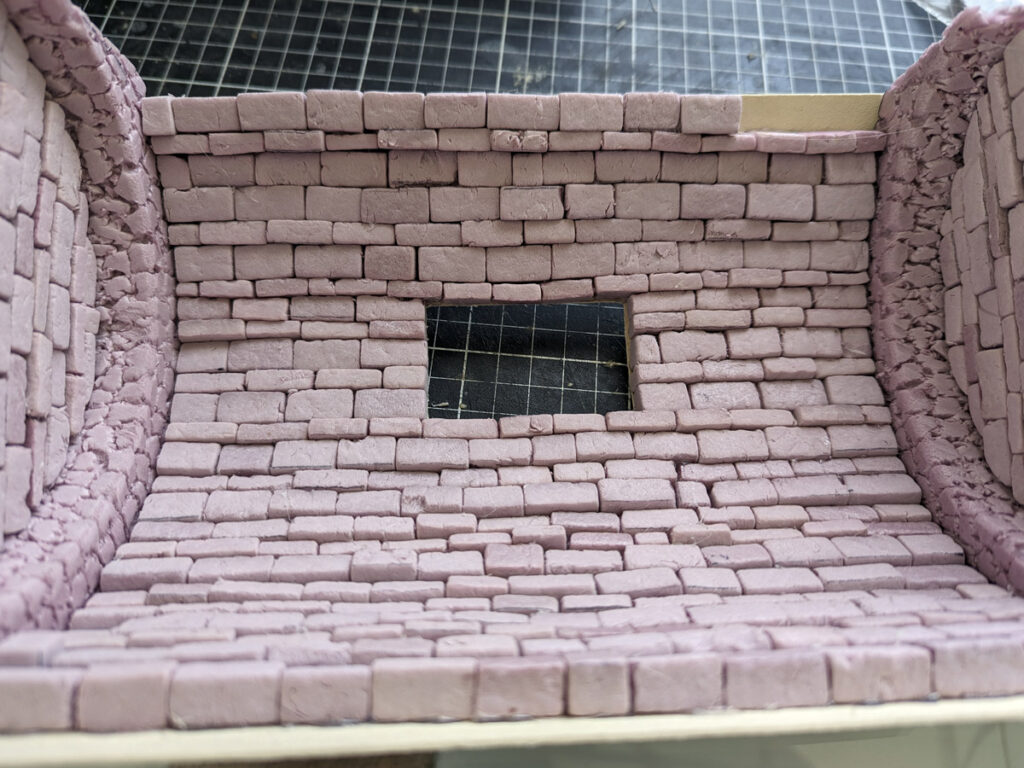
Also, since there is an opening in the top of the ceiling I had to kinda calculate the lanes so they would fit properly with the opening and it would look natural and the bricks layed out acording to the opening.

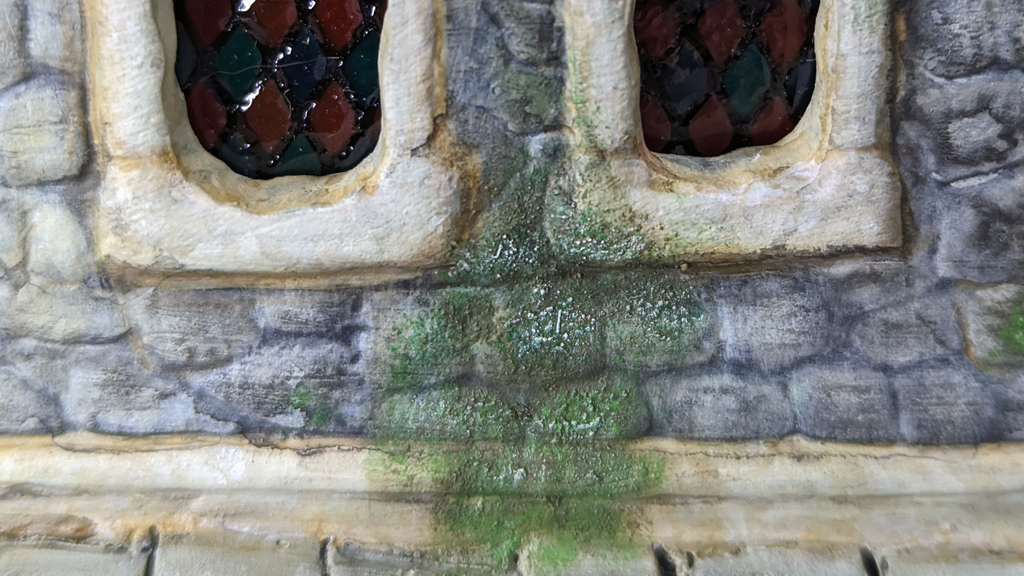
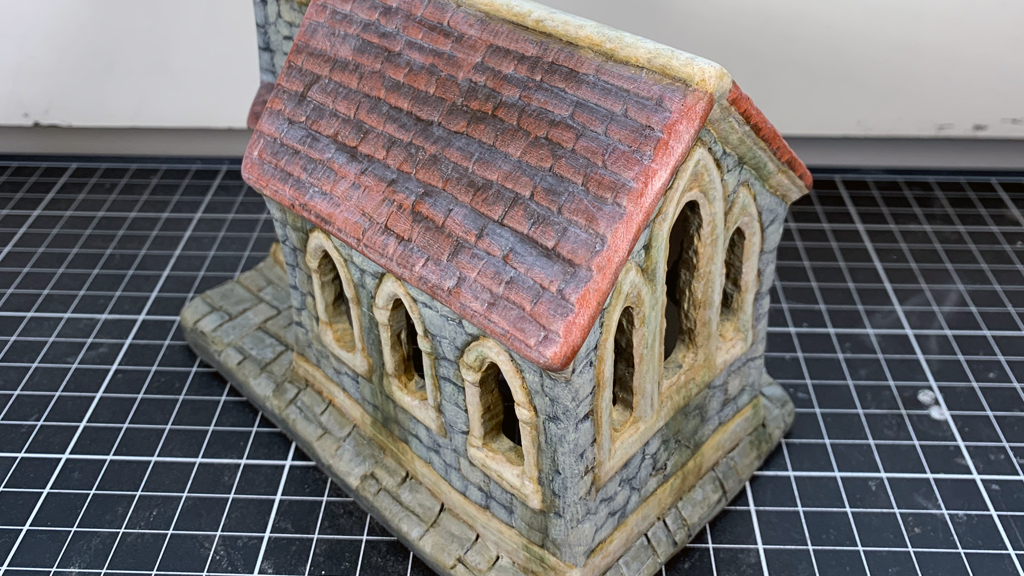
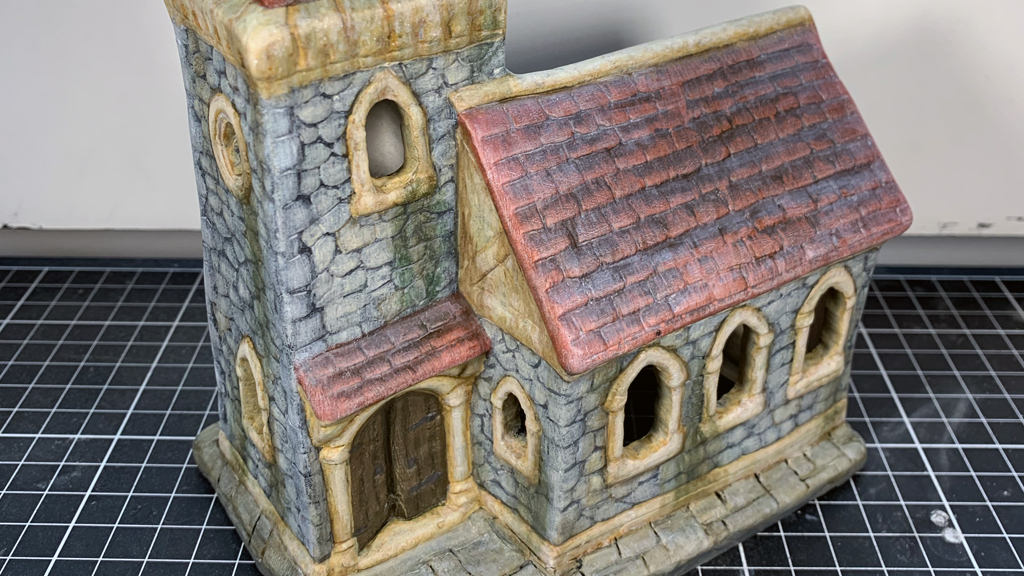
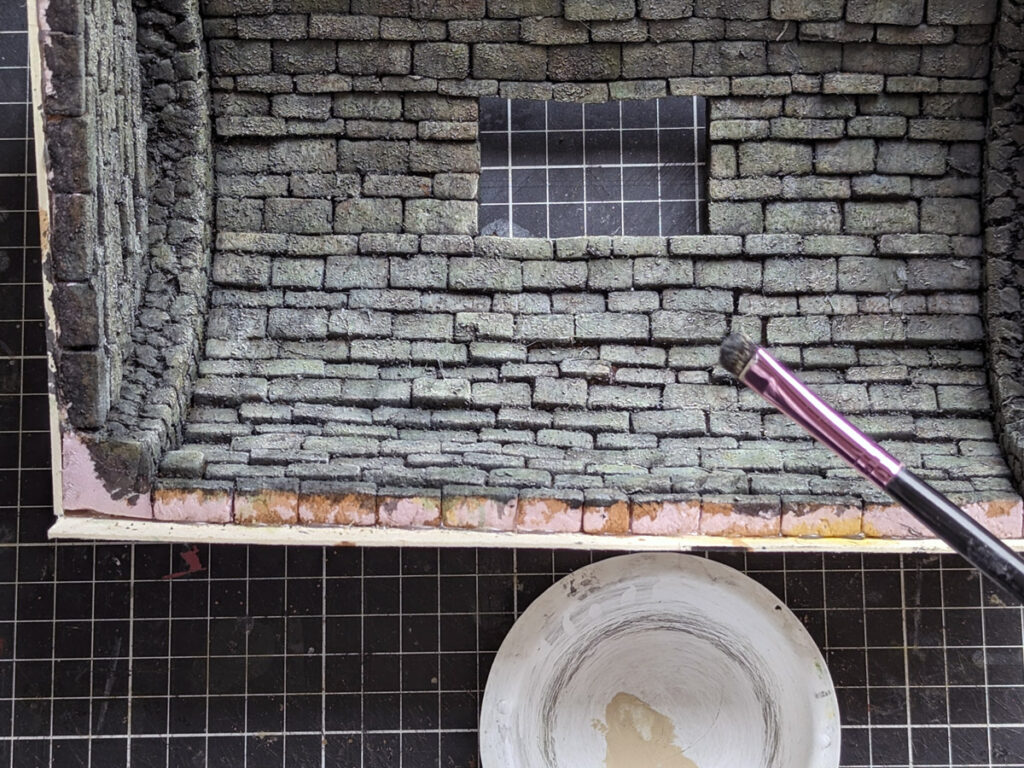
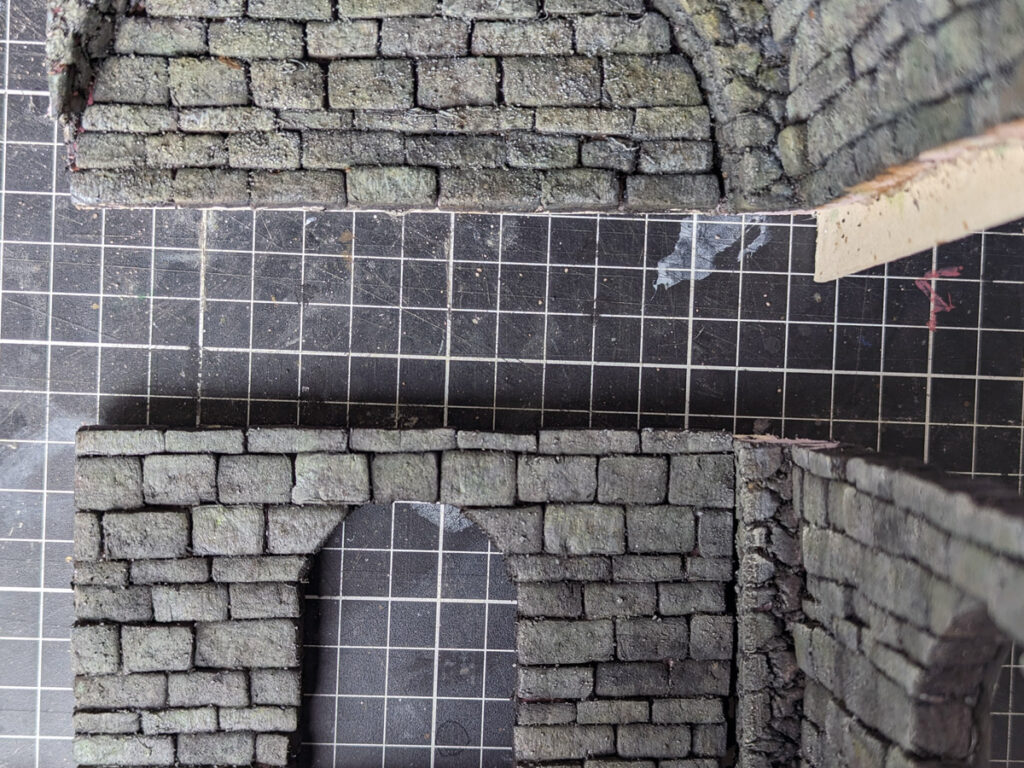
The painting and weathering phase was exactly the same as I did with the wall build, because it has a continuity in the structure of wall and ceiling. The challenge was that both builds would fit seamly when putting them together, fortunately everything went as planned and they fit together just fine.

Painting, weathering and drybrushing

CONCLUSION

This was a very interesting build, since I haven´t done anything like this before. The closest I had, were some architectural models with interiors included, but those kind of models usually don´t have any textures or materials represented (just the plain walls) since they are used mostly to have an idea of the spaces created, not necesarily with material or decorative elements.

And in this case I was concerned about the right fitting of the bricks and the right coloring of both builds (I didn´t want different tones of color on each build.. it would have looked evident these were two pieces) so they would look as a single build.

Walls and ceiling must have the same color tone.

Also, I think the scale I used worked in my favor (1:20) because at this size, I had more room to adapt and correct some millimeters I missed in the fitting, than if I had used a smaller scale (1:50 or 1:75, to mention some).

Final Shot of ceiling assembled with walls

Limestone Effect for Dioramas and Miniatures

gatozenadmin · October 30, 2023 · Leave a Comment

If you are looking how to give a limestone effect for your diorama of miniatures, this is the place to be. Watch a step by step video tutorial and post with my apreciation and experience doing it.

Step by step video

The idea

The idea of representing in a realistic way limestone comes from searching a combination of two types of stone that gives the idea of an old castle. The selected colors were the standard grey of common stone and the yellowish tone of limestone. For this project the dominant color was grey for its walls, and the complementary was the limestone for the cornices and window frames.

The limestone makes an interesting color for this old castle project because of the wide variety of tones that can be applyed to that material depending on the type of surface: from a clean and new surface with its characteristic yellow-brown tone, to a more dirty and old look with a reddish-brown streaks, and also some greenish tone representing a moss covered limestone.

Clean limestone
Redish / dirty looking limestone
Limestone covered with moss texture

The paint

To paint this miniature castle and give the non-uniform tonalities of stone over its walls, I applyed a black primer, then grey layer and finally white highlights as base coloring, giving a light to dark tonality for the miniature according to where light would be casted more intensely on its surfaces.

Once the priming tonalities of black-grey-white are dryed, I procceded to paint the characteristic yellowish tone of limestone, giving the result of a multitoned yellow-brown color over the primed surfaced.

After the base color was applyed, I added 4 layers of a mix of the base color, with a lighter color on each layer, going from the “darkest” tone to the lightest (which would be a Bonewhite Vallejo Game Color acrylic), this, for giving a more volumetric sense to the elements representing the limestone.

Finally, some weathering was applyed to the piece, some dust and moss was represented by drybrushing brown and dark green, respectively, in a vertical manner in some very select areas.

Dirt and moss over surface

I was satisfied with the over all final result. I think the convination of grey stone in the walls and yellowish brown of the details in the cornices and windows made a good combination, however maybe I would have changed the redish ceiling to another tone other than that, because this color kinda competes with the grey/yellow of the walls, more than it complements them.

What do you think?.. Let me know in the comments section.

Recently Published

  • Miniature Dungeon Cell Door and Windows – Dark Souls Dungeon Part 5
  • Miniature Dungeon Ceiling Build – DarkSouls Dungeon Part 3
  • Realistic Wooden Shingles for Dollhouse or Scale Models
  • Limestone Effect for Dioramas and Miniatures
  • Easy Layering in Watercolor
  • Instagram
  • TikTok
  • YouTube

Copyright © 2025 · Monochrome Pro on Genesis Framework · WordPress · Log in